Posts Tagged ‘diabetes dessert recipes’

5 Diabetes Dessert Recipes
Having diabetes should not restrict you from enjoying sweet treats. Some recipes are ideal for people with all types of diabetes, including pre-diabetes, diabetes type 1, diabetes type 2, and gestational diabetes.
Ideally, diabetes desserts should have one or more of the following things compared to traditional desserts:
• More fiber
• Less sugars
• Increased proteins
• More plant-based fats
If you have diabetes and you want to lower your sugar level, here are dessert recipes you should try:
5 Diabetes Dessert Recipes
1. Strawberries & Whipped Cream
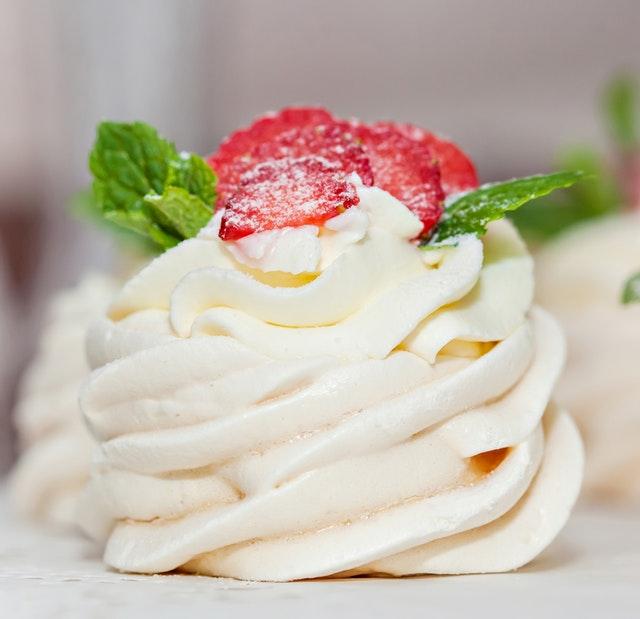
The dessert is rich in antioxidants making it a good choice for diabetic people looking to boost their immune system. The ingredients include strawberries, powdered stevia, and heavy whipping cream.
Ingredients:
- Heavy Whipping Cream (1/2 cup)
- Strawberries (1/2 pound)
- Powdered Stevia (1 tablespoon)
The process of making strawberries and whipped cream is straightforward. Just slice up the strawberries and sprinkle some stevia to taste.
Add the heavy whipped cream and if you want to add some taste, consider adding milk or coconut milk.
2. Chocolate Chip Cookie Dough Bites
Egg-free no-bake cookie dough bites are perfect for you and your family. Have you ever heard of garbanzo beans?
It is a secret ingredient that makes the cookie dough bites delicious and nutritious.
Garbanzo beans are rich in proteins and fiber, which helps in lowering blood sugar levels. Although not everyone likes sugary foods, you can add maple syrup to sweeten the cookies.
Remember, if you want to balance blood sugar, almond flour is the best.
Ingredients:
- 1 1/4 cups oats
- 1 cup almond flour
- 1 can low sodium garbanzo beans rinsed and drained
- 2 tsp vanilla extract
- 1/4 tsp salt
- 1/2 tsp cinnamon
- 1/3 cup maple syrup
- 1/2 cup chocolate chips
Follow these steps to make no-bake cookie dough bites:
It’s best to mix oats and almond flour in a food processor until a fine powder is visible.
Add the rest of the ingredients except the chocolate chips. Process the ingredients until you form a batter.
If the mixture is too dry, consider adding some water. Adding some water makes the process easier.
Transfer the mixture to a bowl and stir the chocolate chips by hand. Use a cookie scoop to roll the dough into balls, then refrigerate them for about 4 hours.
Refrigeration is crucial to make the chocolate chip cookie dough bites fluffy and round without baking them.
To make mini chocolate chips:
Start the process by preheating the oven to 350°F.
Add ½ tablespoonful baking powder, flaxseed egg, or an ordinary egg to the original ingredients.
Follow the steps discussed above besides the refrigeration step.
It is advisable to skip the refrigeration step because you will eventually bake the mini chocolate chips. After transferring the mixture into a bowl, stir the chocolate chips by hand. Remember, unlike the no-bake chocolate chip cookies, mini chocolate chips should not be eaten raw because we added an egg.
Therefore, the final step entails baking the cookies for about ten minutes. When ready, the edges will start turning golden brown. Remove the cookies from the oven and transfer them to a cooling rack.
If you store the cookies in an airtight container, they can last up to a week. However, if you freeze them, they can stay fresh for up to three months.
3. Vegan Cherry Chocolate Coconut Milk Chia Pudding
You need the following ingredients:
• Coconut milk (1 1/2 cups) or any other type of milk (to keep the dessert vegan, almond milk chia pudding or coconut milk chia pudding is the best)
• Chia seeds (A little more than 1/4 cup) are antioxidants and rich in calcium, iron, proteins, and omega-3 fatty acids.
• Cacao powder (1/4 cup)
• Powdered monk fruit sweetener (2-3 Tablespoons)
• Cherries (1/4 cup, pitted and sliced)
• Heavy whipping cream (1/4 cup)
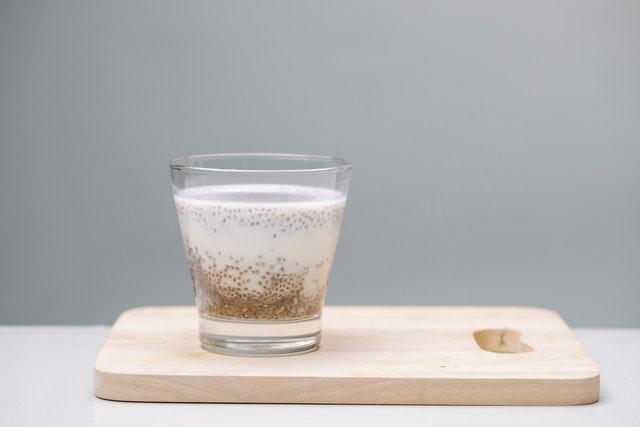
The process of making makes cherry chocolate coconut milk chia pudding is very simple. Gather, clean, and mix all the ingredients in a bowl or mug. Leave the ingredients for 4 to 5 hours to gel and firm up.
It is advisable to make the chia pudding overnight to allow the chia seeds enough time to gel and firm up.
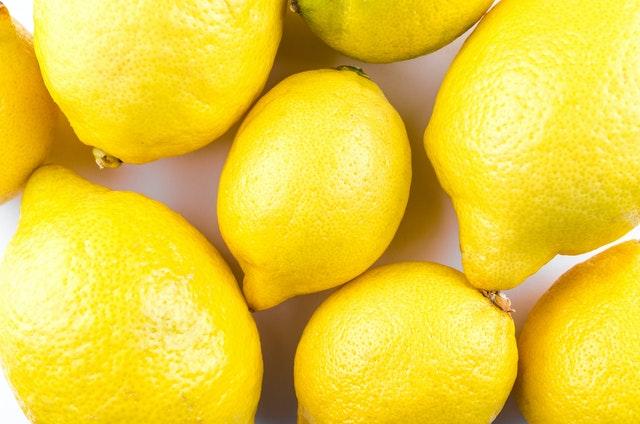
4. Lemon Mini Cheesecake
Making this no-bake lemon mini cheesecake is easy and fast.
Typically, it would be best to make a crust first, then fill and mold the no-bake cheesecake.
However, you need a high-powered blender or food processor to prepare these delicacies successfully. So, how do you do it?
Start by adding coconut flour and oats to a blender or food processor. Blend the mixture for a few minutes until you form a fine white powder.
Add the remaining ingredients, i.e., vanilla extract, almond extract, lemon zest, cream cheese, and maple syrup. Continue processing until the ingredients become smooth.
Scoop the batter into a container, sprinkle the bites, and add coconut or lemon zest to taste. To harden the cheesecakes, refrigerate them for 2 to 4 hours.
5. Gluten Free Pumpkin Cookies
This is another no bake recipe.
Pumpkin is very nutritious, thus making it an important ingredient when making gluten-free pumpkin cookies. The no-bake gluten-free pumpkin cookies need a wet base for a start. Nut butter, maple syrup, or pumpkin puree are ideal choices. You need the following equipment:
• Bowl
• Whisk
• Spatula or rubber spoon
• Microwave
• Fork
• Storage container
Here’s the ingredient list:
- 1 cup nut butter (Almond butter is slightly healthier than peanut butter)
- ½ cup maple syrup
- 1 cup pumpkin puree
- 1 tsp vanilla extract
- 1 1/4 cup coconut flour
- 1 tbsp cinnamon
For a start, mix the maple syrup, vanilla extract, and pumpkin puree in a bowl. Whisk the ingredients until they mix thoroughly.
If the almond butter is too thick, consider microwaving it before mixing.
The next step entails adding coconut flour and cinnamon and mixing them using a spatula or spoon.
Ensure the mixture is thick to form balls. Consider adding more flour if the dough is too thin.
Form the balls and use your hand or fork to make the balls round (shaping).
If you freeze the cookies in an airtight container, they can stay fresh for up to 3 months. Remember to thaw them before eating.
Conclusion
Although diabetic people fear desserts, that should not be the case. However, you should steer clear of desserts with high sugar and carbohydrates.
Eating healthy foods is highly recommended, especially if you have a health condition. Therefore, consider seeking professional advice and researching to determine what you should and shouldn’t eat. If you are not sure about anything, do not take risks.
Instead, consult your dietician to know if you are making a mistake.
